Here's a step-by-step guide to assist you in creating your Seed Phrase Wallet.
Set Up Bybit Wallet Extension
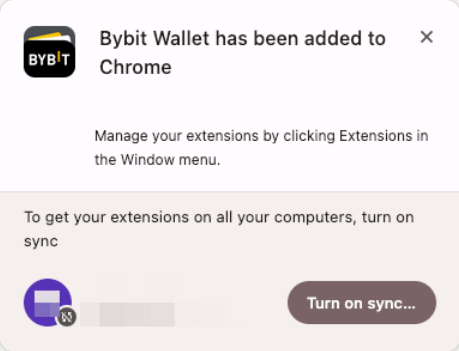
Step 1: Find the Bybit Wallet extension on Google chrome. Click Add to Chrome in the top right corner → Add extension. You can pin the Bybit Wallet extension on the extension bar for easy access and management.

Step 2: Click the Bybit Wallet icon in the extension bar, and then the Turn on sync… button. Click Continue to allow Bybit to manage your profile.
Create a Seed Phrase Wallet
Step 1: Go to Bybit Wallet, click the Bybit Wallet icon in the extension bar, and choose Create a Bybit Wallet.

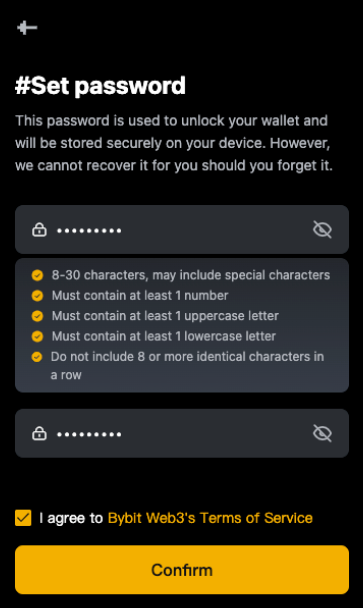
Step 2: Follow the instructions to set your device password. Check the “I agree” box and click Confirm.
Step 3: Click Seed Phrase Wallet, and your wallet will be created within seconds.
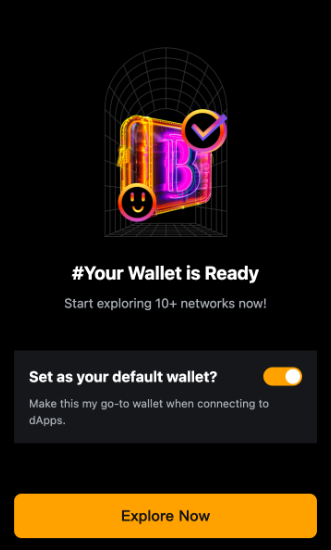
Step 4: You may set your Bybit Seed Phrase Wallet as the default wallet to explore Wallet products on Bybit or interact with dApps on other platforms.
Import Your Existing Seed Phrase Wallet
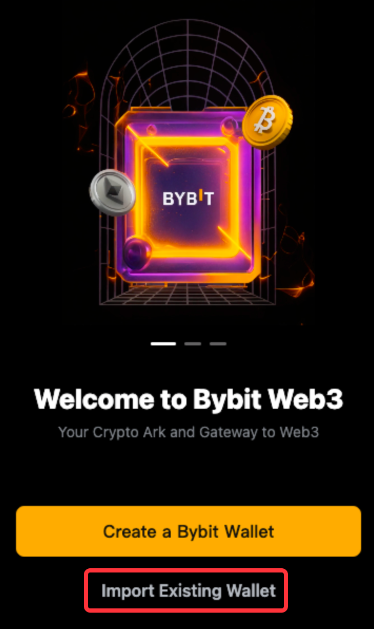
Step 1: Go to Bybit Wallet, click the Bybit Wallet icon in the extension bar, and select Importing Existing Wallet.
Step 2: Enter your device password and click Confirm.
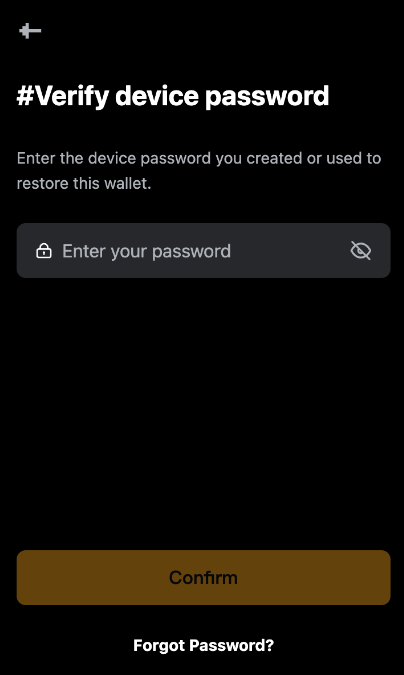
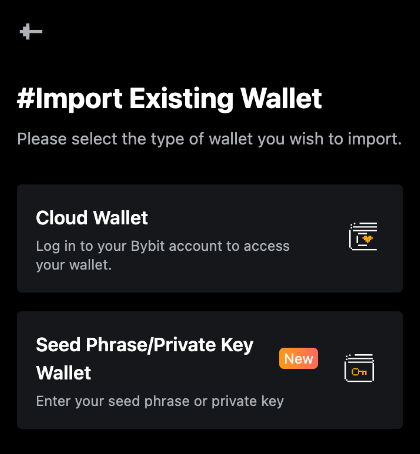
Step 3: Select Seed Phrase Wallet.
Step 4: Enter or paste your seed phrases (you may choose the number of seed phrases by clicking the drop-down menu below #Import Seed Phrase), and click Import.
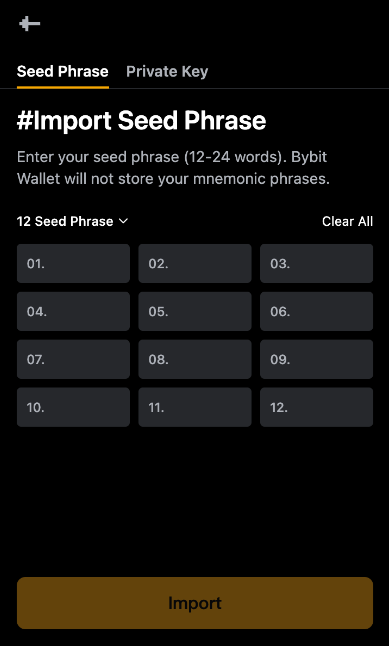
Note: If you have created multiple addresses before, the import function will only restore wallet addresses that have assets associated with them.
Manage Your Wallet
Reset Your Device Password
If you forget your device password, you may reset your Seed Phrase Wallet on the Bybit Web using the Wallet wallet extension.
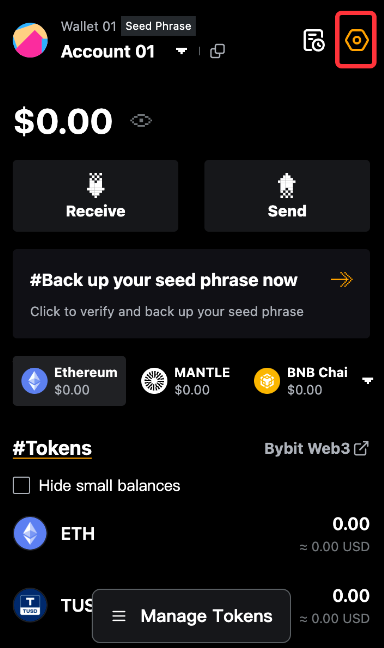
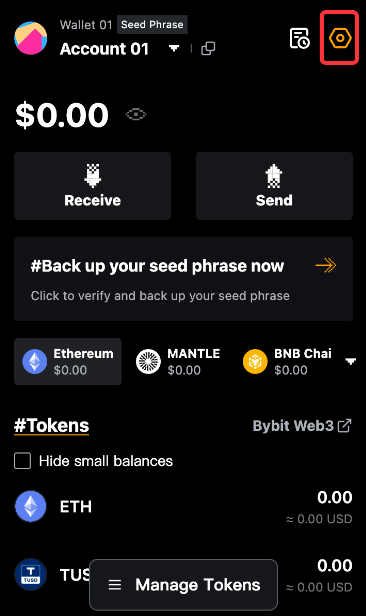
Step 1: Click the Bybit Wallet icon in the extension bar. Navigate to Settings by clicking the icon in the top right corner.
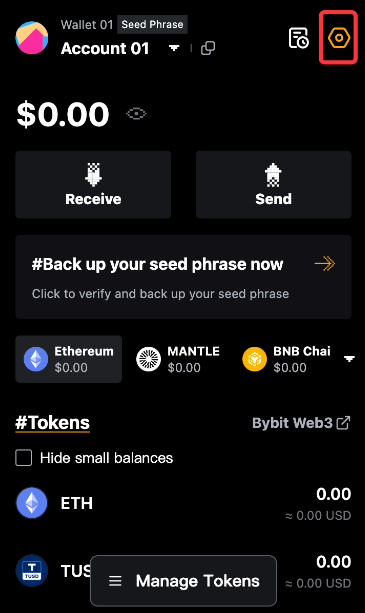
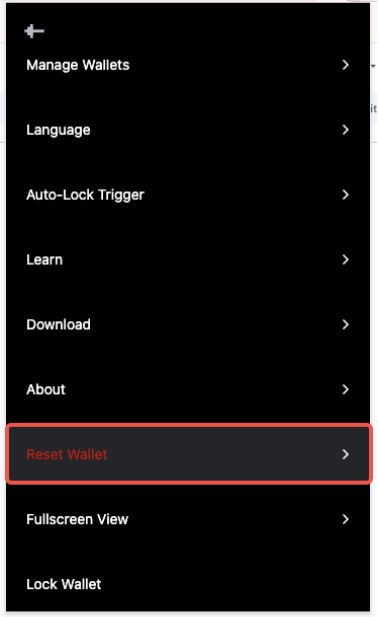
Step 2: On the drop-down menu, go to Reset Wallet.
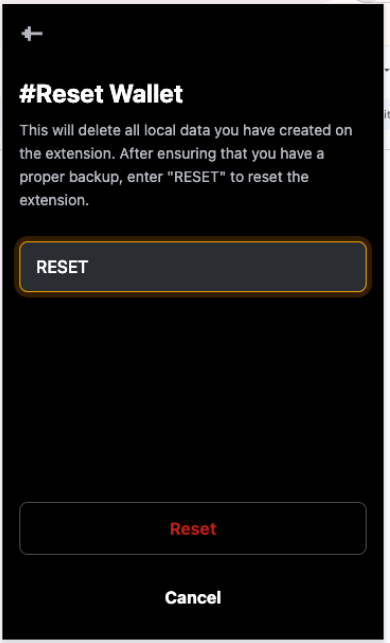
Step 3: Enter “RESET” (case-sensitive) in the text bar and click Reset.
Step 4: Follow the steps in Create a Seed Phrase Wallet or Import Your Existing Seed Phrase Wallet to start over.
Enable/Disable Your Bybit Wallet as Default
Step 1: Open the Bybit Wallet extension and navigate to Settings (the icon in the top right corner).
Step 2: Slide-toggle to enable/disable the Bybit Seed Phrase Wallet as your default wallet for dApp interaction.
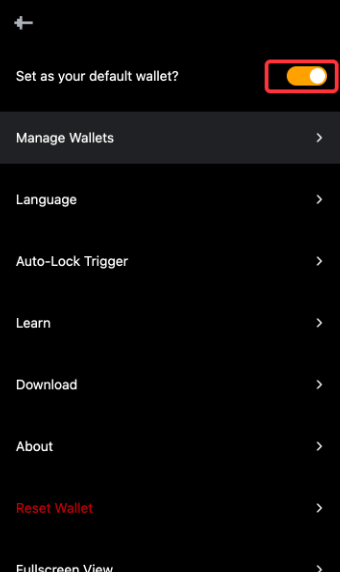
You can also personalize your wallet by customizing certain aspects, including the display mode (Full-Screen View), language, and auto-lock trigger.
View and Backup Your Seed Phrase
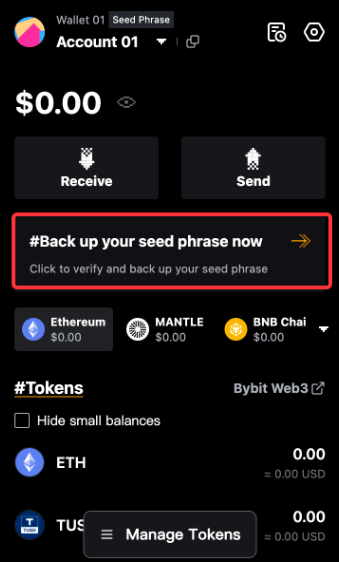
Step 1: Open the Bybit Wallet extension and click #Back up your seed phrase now.
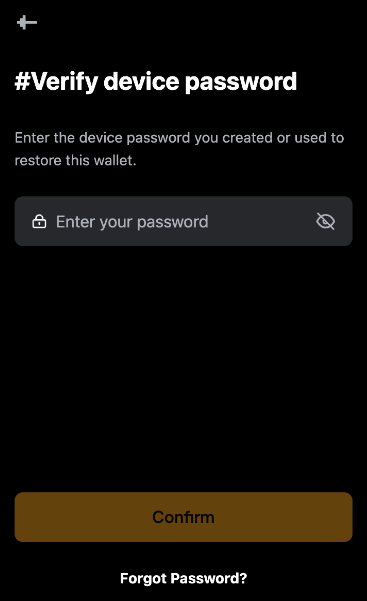
Step 2: Enter your device password and click Confirm.
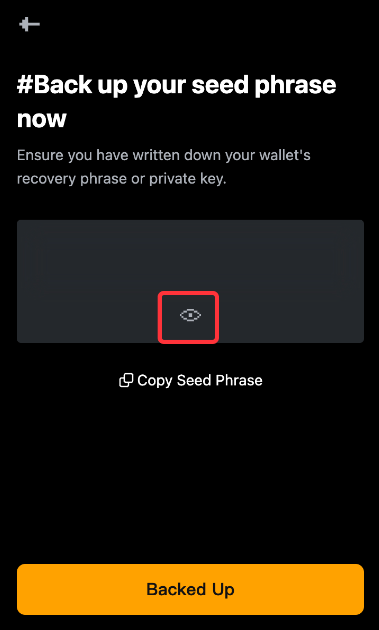
Step 3: Click the eye icon to view your seed phrases, and/or click Copy Seed Phrase to record your seed phrases before securely storing them using Google Drive/iCloud or a Manual Wallet.
Note: However, these methods would only be feasible if the device password is available. Therefore, without the device password, which is set up when the wallet is initially backed up, the wallet would not be retrievable.
Rename Your Wallet
Step 1: Open the Bybit Wallet extension and go to Settings.
Step 2: Go to Manage Wallets, click Manage Wallets in the top right corner.

Step 3: Click the edit icon next to your wallet name or account name to rename your wallet.

Add a Wallet Address
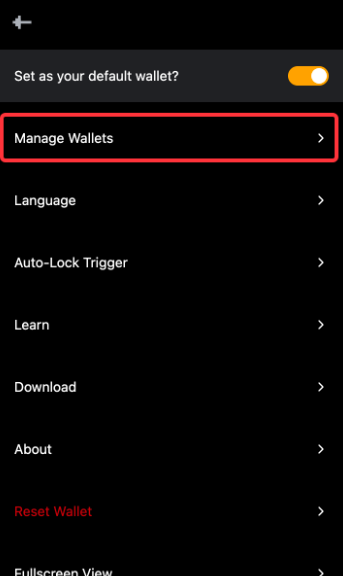
Step 1: Open the Bybit Wallet extension and go to Settings → Manage Wallets.
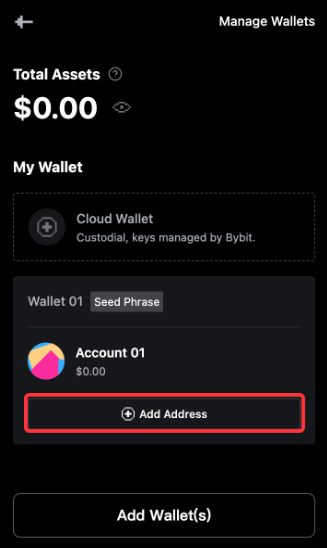
Step 2: Click Add Address below your Seed Phrase Wallet to add another address.
Step 3: Enter your device password and click Confirm and Continue.
